Hello everyone!
I am going to try my hand at giving you a tutorial on making this card... it is so cool once it is completed... I am a hands-on visual learner! I need to see things done in order to comprehend them! It's always good for me to have written instructions and the visual together! I know there are probably a lot of similar tutorials out there in "Scrappin' land" but here's my take on this card!
One of the gals at our "get-together" the other night had brought some instructions on how to do this - I have refined them and made my own!
Let me know if it makes sense or if you need clarification!! :)
Here is the almost completed card .... I have not added any embellishments to it - as you can see - I will do that and show you the finished project tomorrow! I have 2 different ones made to this point - that's when I had the "brainwave" to do a tutorial .... it took me this long to figure it out! BUT - hey! easy now!!!!!
First - let me give you some written directions:
A) Cut Card Stock 5&1/2" by 12"... do not fold until project is completed.
B) Score at 2", 4", 8", 10"
C) Measure in 1&1/2" on both long sides and cut from the 2" score line to the 10"score line.
D) Cut Designer Paper 5 &1/4" by 12".
E) From the DP cut 2 pieces - 3 &3/4" by 5&1/4".
F) Take these 2 pieces and cut from the top and bottom of each one, pieces
measuring 1&1/2" by 2"... making a 'T' shape.
G) This will give you 4 left over pieces - cut these down to 1&1/4" by 1&3/4".
H) Cut remaining DP into the following: two pieces measuring 1&1/4" by 3&3/4"; one piece measuring 2& 1/4" by 3&3/4".
I) Adhere DP to CS.
J) Fold on fold lines - being careful NOT to fold on the score line where the sideways T is.
K) Embellish !
This is what you will have after you score and cut the cardstock...

This is one of the 3&3/4" by 5&1/4" pieces - on the back side - on each end I have drawn in pencil lines 2" X 1&1/2" - these areas will be cut out to make a "T" shape.

Here is this piece with the 2 corner pieces removed from it.

I have begun to adhere the DP to the cardstock...
Here - a few more pieces added...

Folded and standing on end so you can see the mountains and valleys!
Another view:

Have fun with this!
Blessings!
Ruthie


 Have a great day!
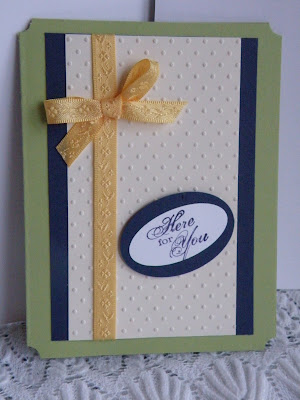
 I used the Dahlia Nestie; Walk in the Park DP; Friends 24/7; Kiwi SatinRibbon;...Clean and simple!
 And here they are taking flight!
 Have a wonderful day!
 The license plate on this one is "CKNFMR" .... I love it ! I told hubby he should get a plate like this one!!!!


 Enjoy!


 eally rained didn't it? Makes me think of Noah, the Ark, and all the rain!


 Hugs,
Hugs, 

 Here is the card I made using this cup and saucer as my inspiration! I stamped the flowers with Chocolate Chip and colored them in with markers and blender pen... clear embossed each image as I went along as I wanted some depth to the flowers ... it worked pretty well! I scored the Gold CS with my scor Pal and used the Nesties "Labels 2"... I really like how this turned out. Hope you do too!
 Have a great evening - see you tomorrow! Ruthie
 have a wonderful day!
 Here is my take on the SSSC17 from "the sweetest thing" at
  Of course, I swayed from the sketch a little.... but you know how it is! Once the juices get going it's hard to stop them... I used a topnote, cut in half for the top part of the card - I rather like this and will do it again! I've never seen this done but I'm sure somebody out there has tried it!
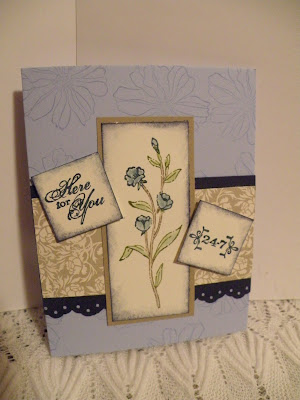
 Here is my take on the MOJO sketch ... I changed the layout from landscape to portrait and of course, had to do a little "slant" on things! I just don't like things all lined up nice and perfect!!!! Symmetry ... ummmmm - I need it a "little off" - wonder what that says about me! Maybe I don't want to know! :) I used the stamp set "Friends 24-7" from stampin' Up!; Bella Bleu DP; Bashful Blue and Kraft CS; markers to color.
 Enjoy!